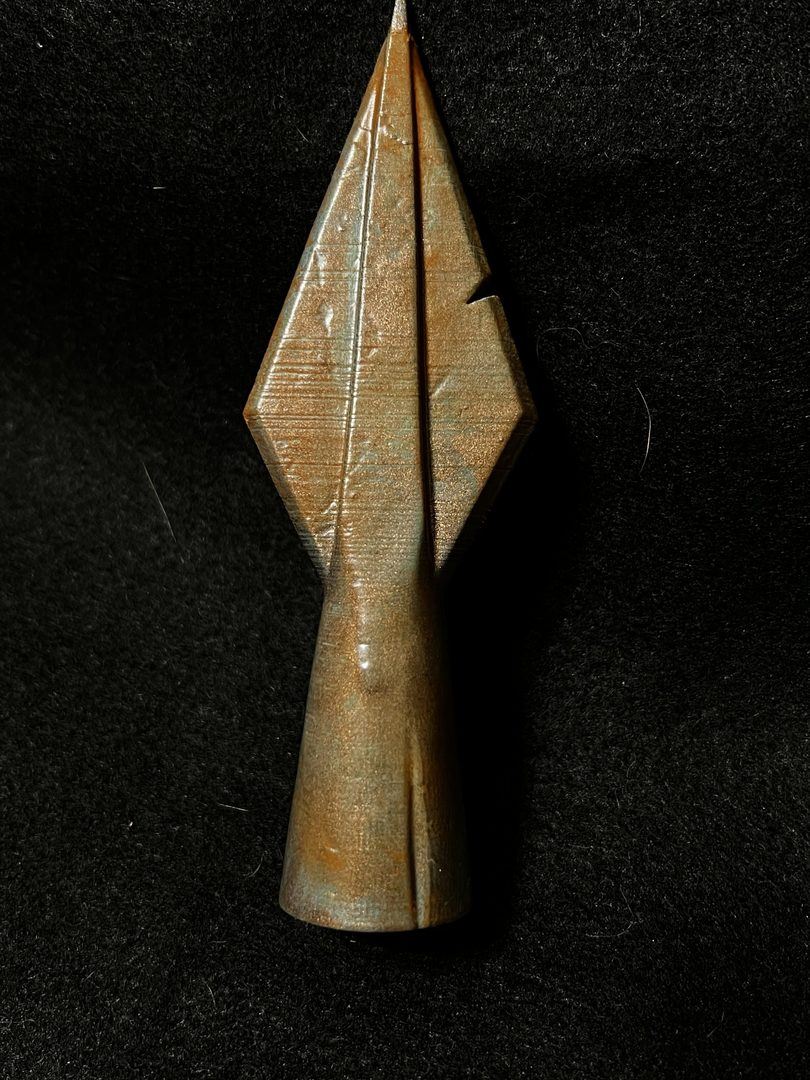
Included in January’s prop drop was the rusty arrowhead. I have an easy and cost effective method for making rusty effects that I wanted to share.
Notes on the model and print settings:
I printed this on an Ender 3V2 that is pretty much stock everything. My layer height was .12mm but you can still see some layer lines in the finished print. Usually I would knock this down with filler primer and that probably would have been enough. The model is scaled up 250% from the original file as I felt that was a good size for my hand and also showed a lot of the deal. Printing the original file size on my printer resulted in most of the finest details being lost and I felt it was a bit small anyways.
The second model I took the original model and imported it into 3d builder, duplicated it, rotated it 90°, and then recentered it back on the original model and merged the two together. It duplicated a couple of the main features like the chip on one of the blades and the main line down the middle of the bottom portion of the shaft but didn’t really feel it was too big of a deal and you could always import into meshmixer after that and just smooth or inflate one of the duplicates to make it look different.
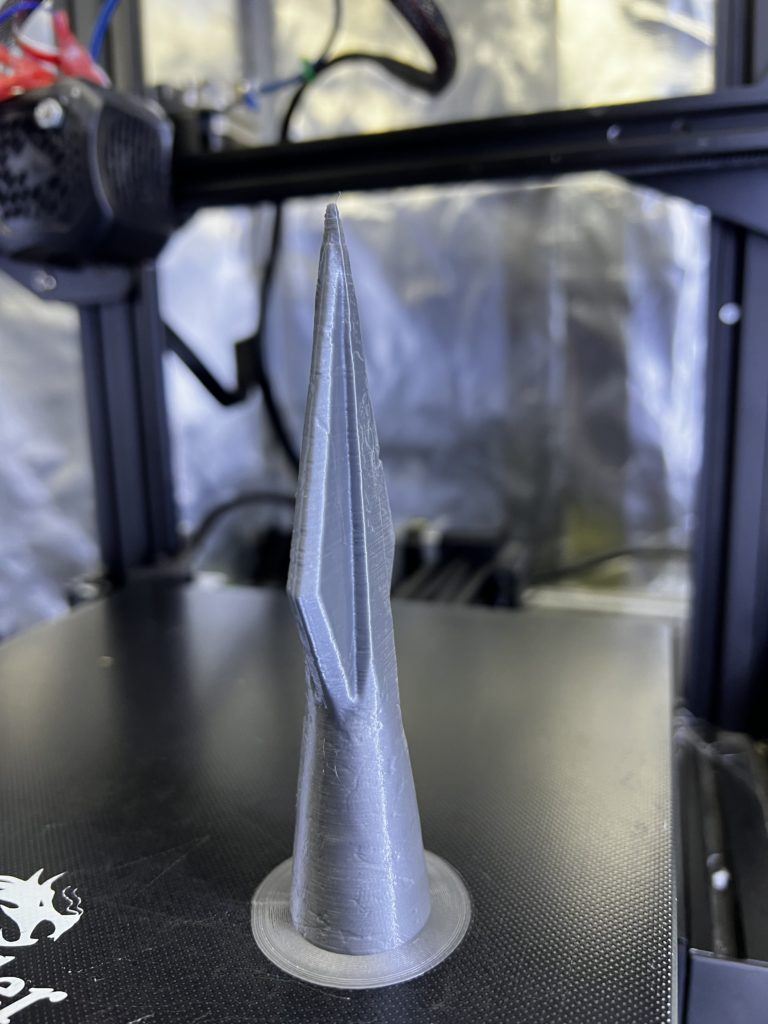
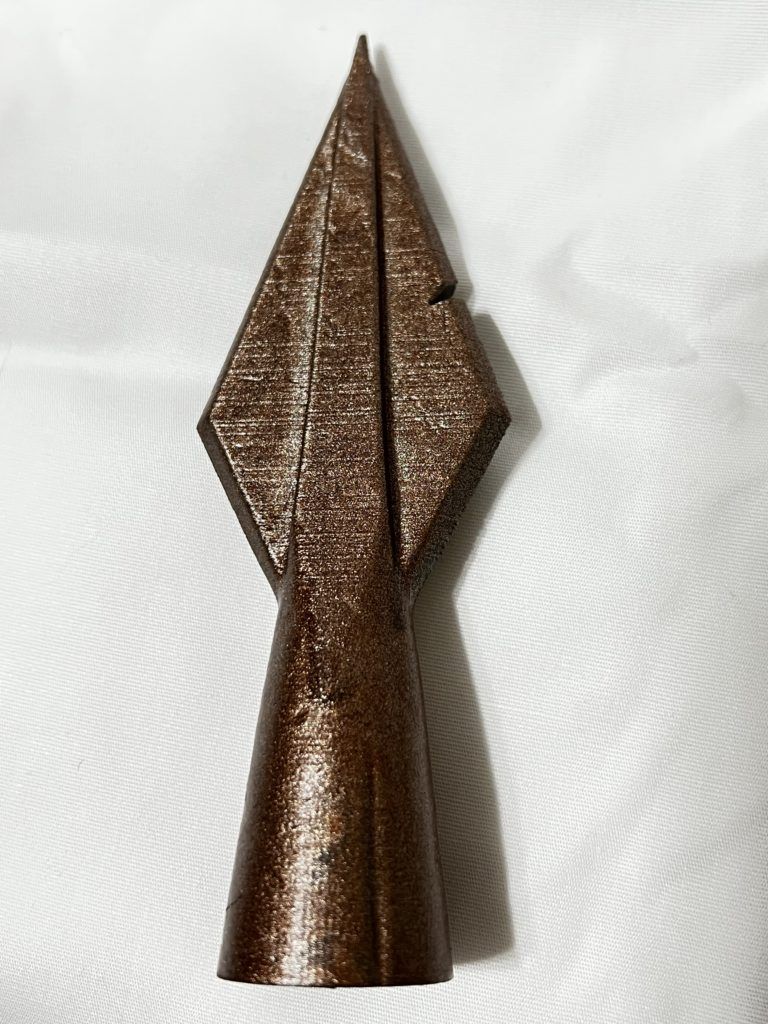
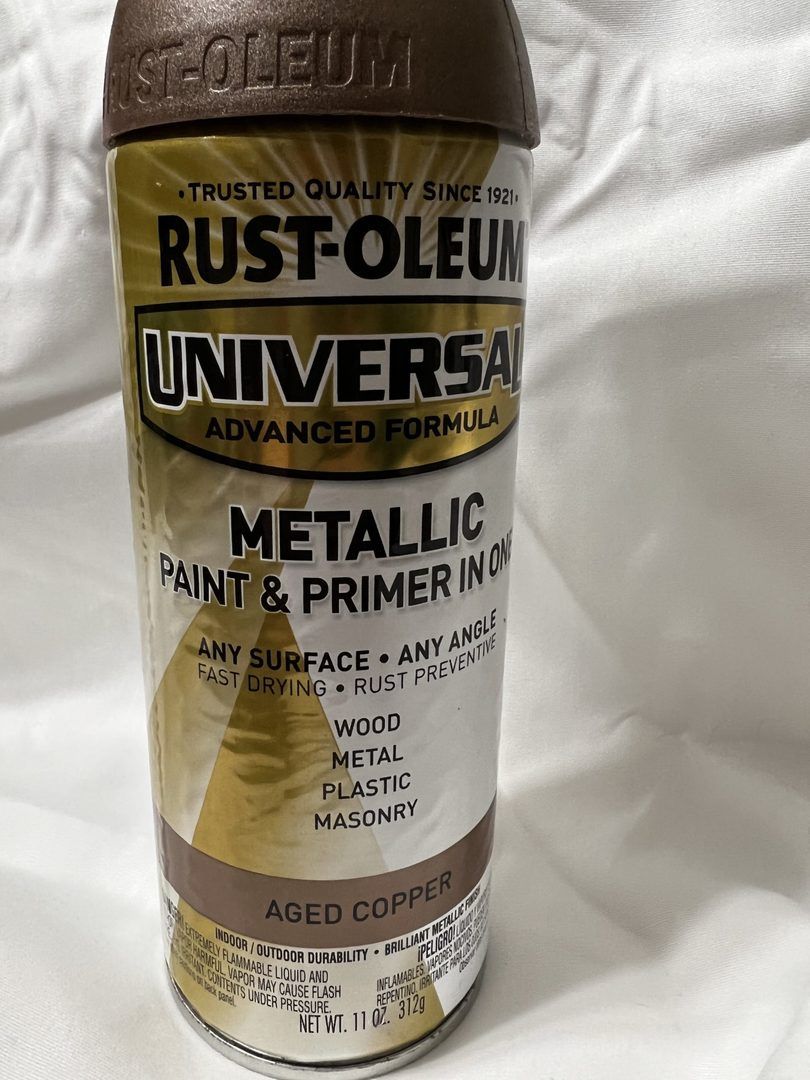
I wanted the arrowhead to look like it was made of copper, but the same principle would apply to any metal look. Instead of priming the model, I used a metallic spray paint to kill two birds with one stone. I would suggest putting some poster tac or double sided tape on the bottom of the arrowhead before spraying it. I knocked them over several times and I would have gotten a better coat of paint if they were stuck down. Also had to switch to the black background to really be able to show off the color contrast


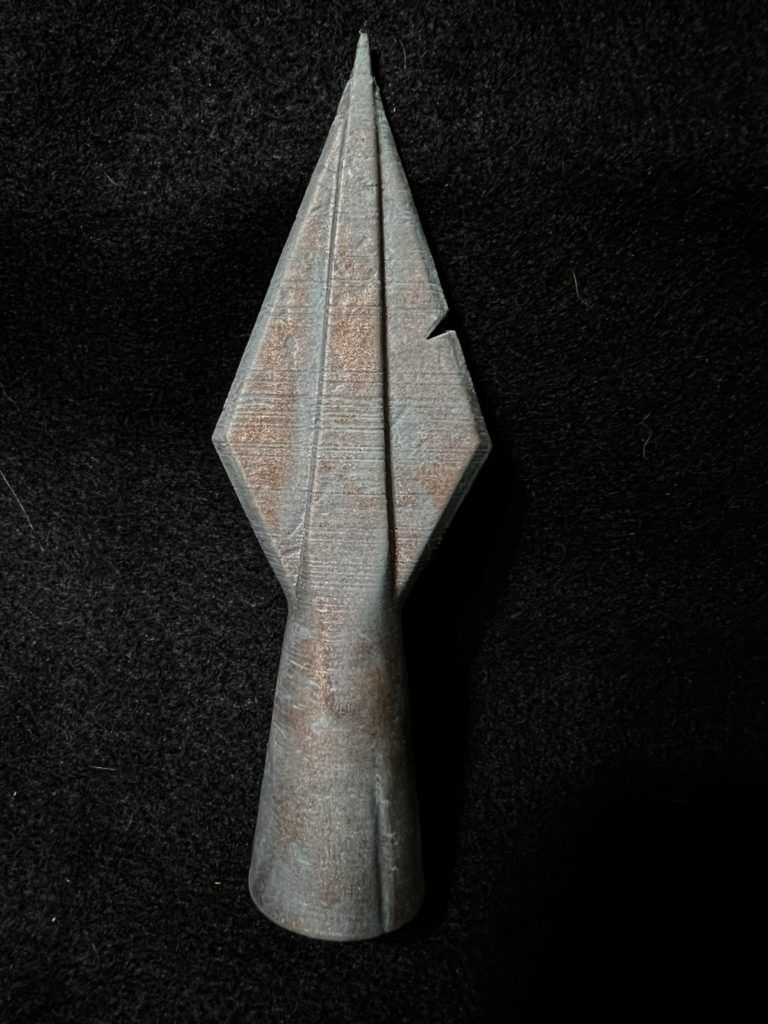
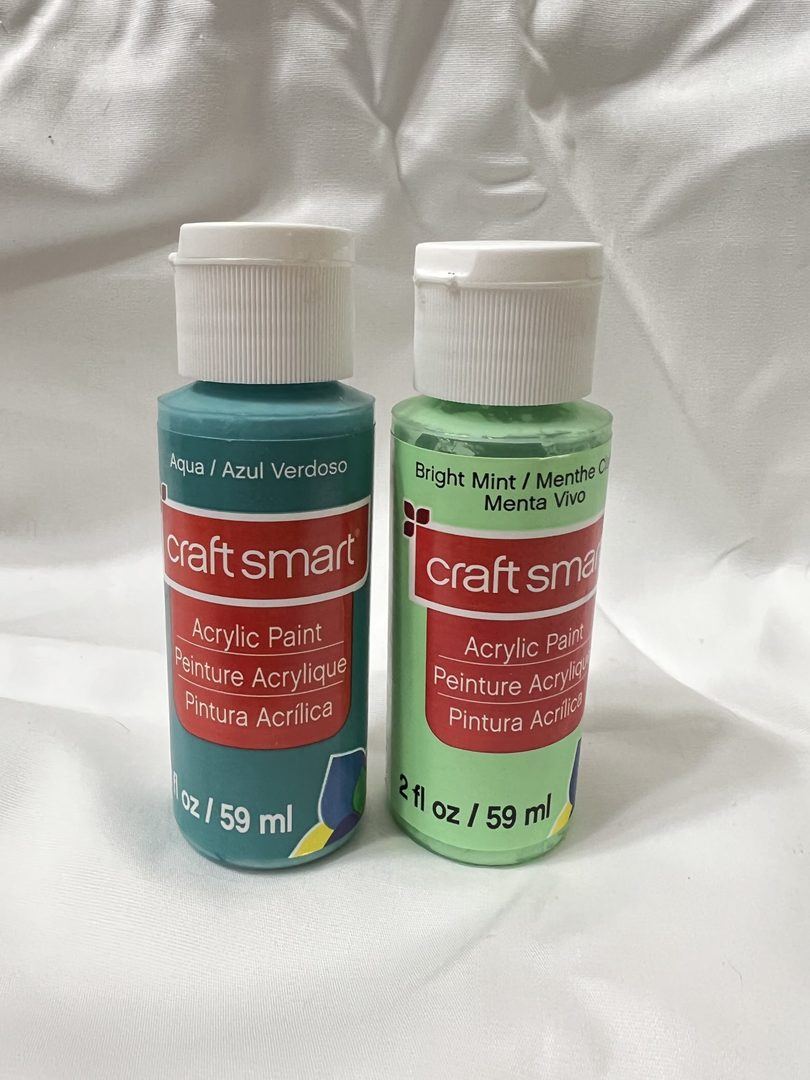
When copper ages, the patina often has varying hues of bluish green. I dry brushed the dominant color, Craft Smart Aqua heavily, and then lightly dry brushed with Craft Smart Bright Mint for highlights and differing shades. After applying each of the colors, I used my fingers to wipe some off in places and wipe it down into the cracks and grooves.
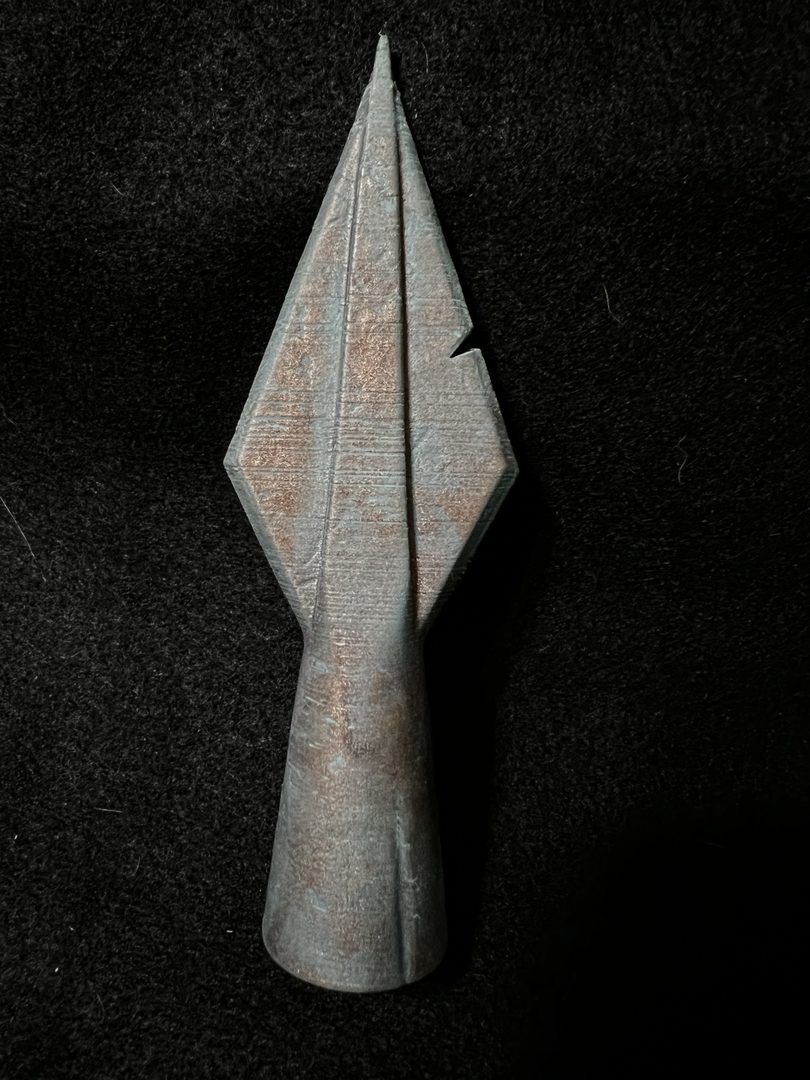

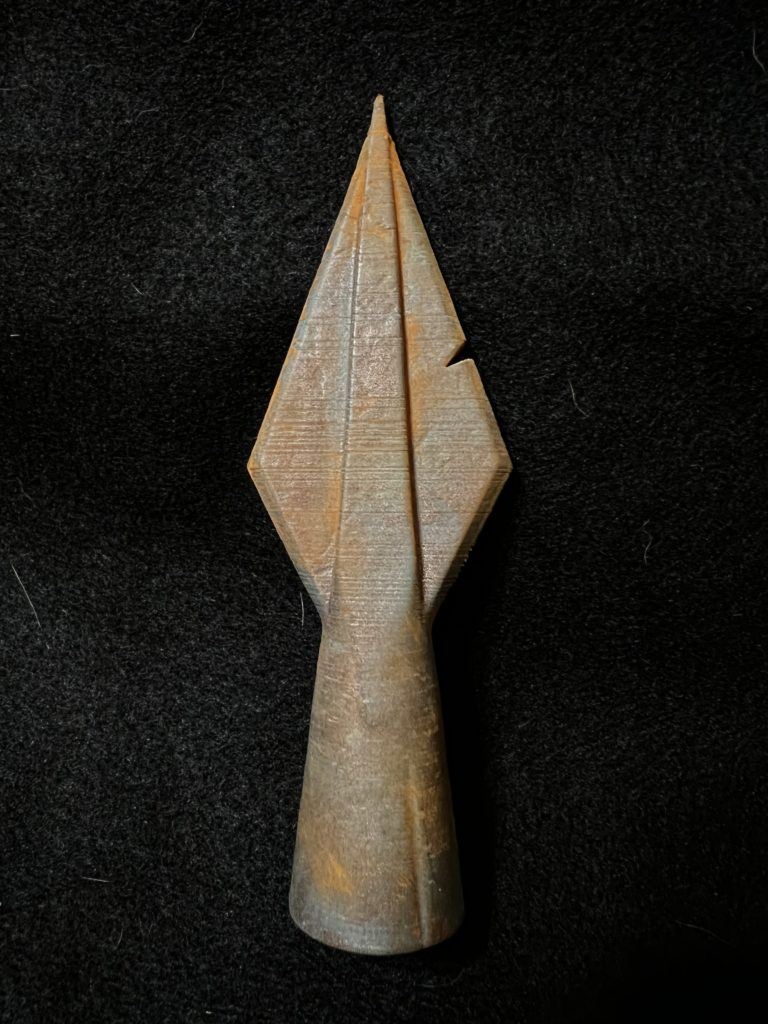
So this is a trick I found when buying things on the clearance rack at Lowes. I often use the “terracotta” color paints for rusting so this powder I thought would work well, and it does! And one box will last you a long, long time. Keep in mind whatever brush you use this with will be stained red. Also, ensure the model is completely dry, otherwise you might get a red mess. I take the brush dry and put it in the powder and then lightly brush on the powder, especially getting it into any grooves and cracks as that would be where rust would concentrate.
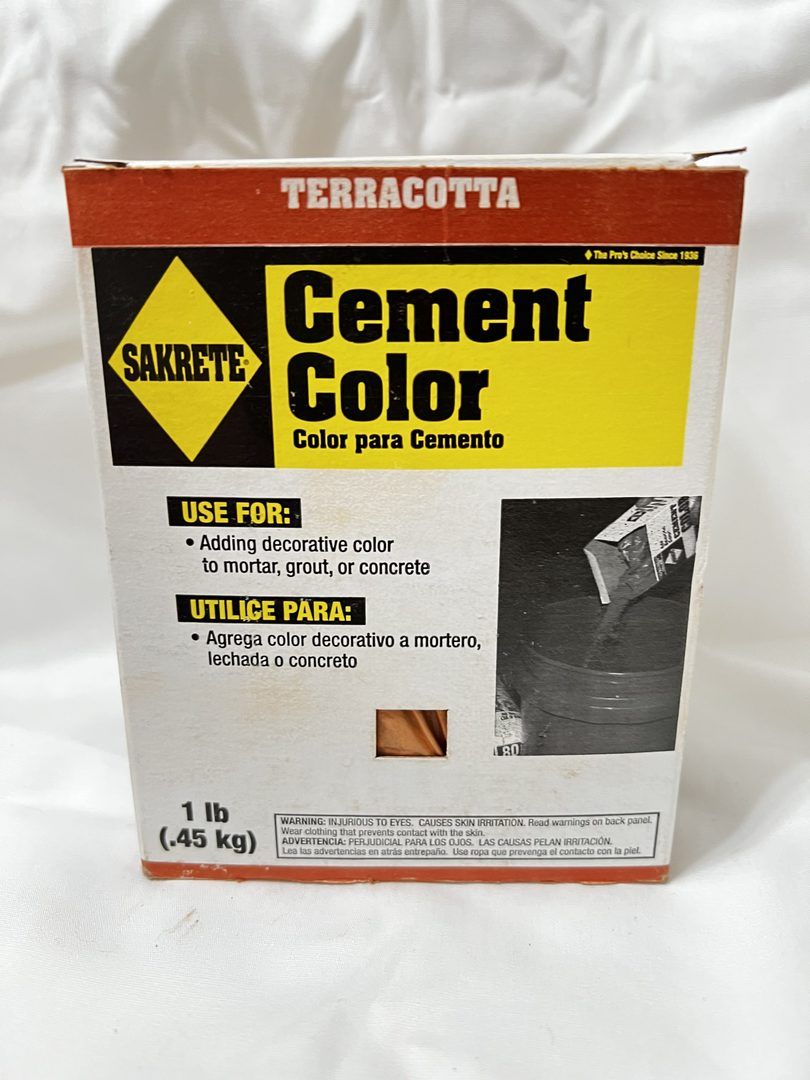
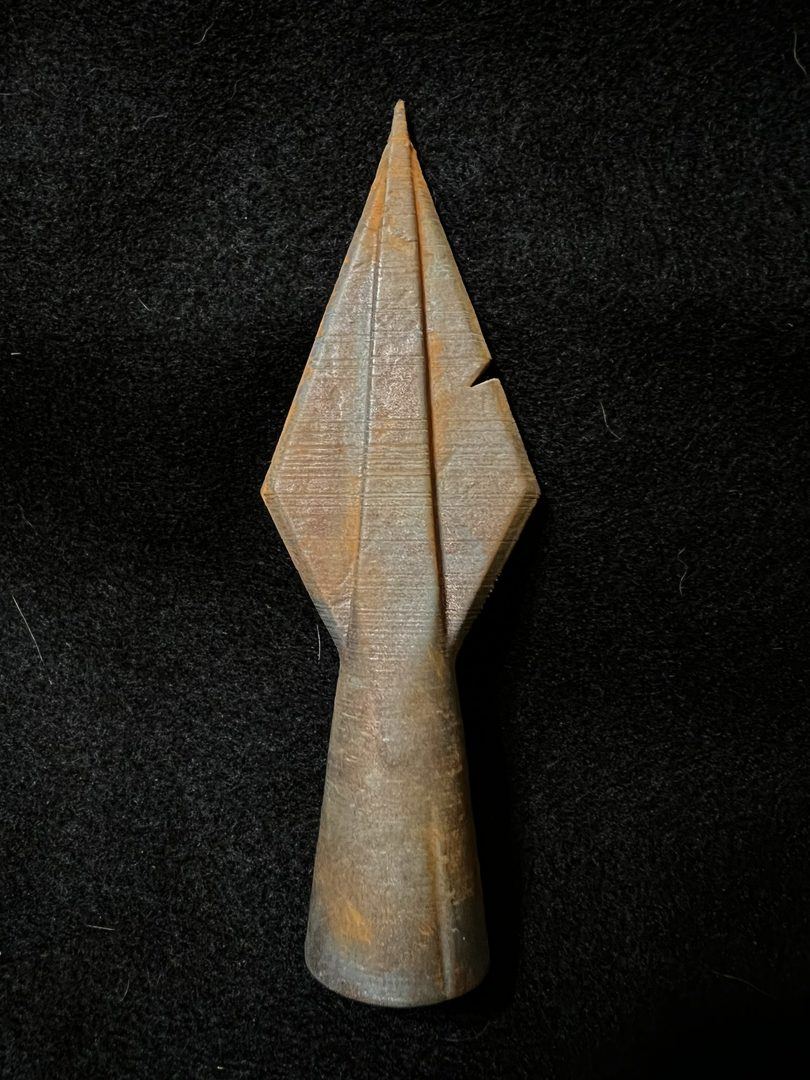

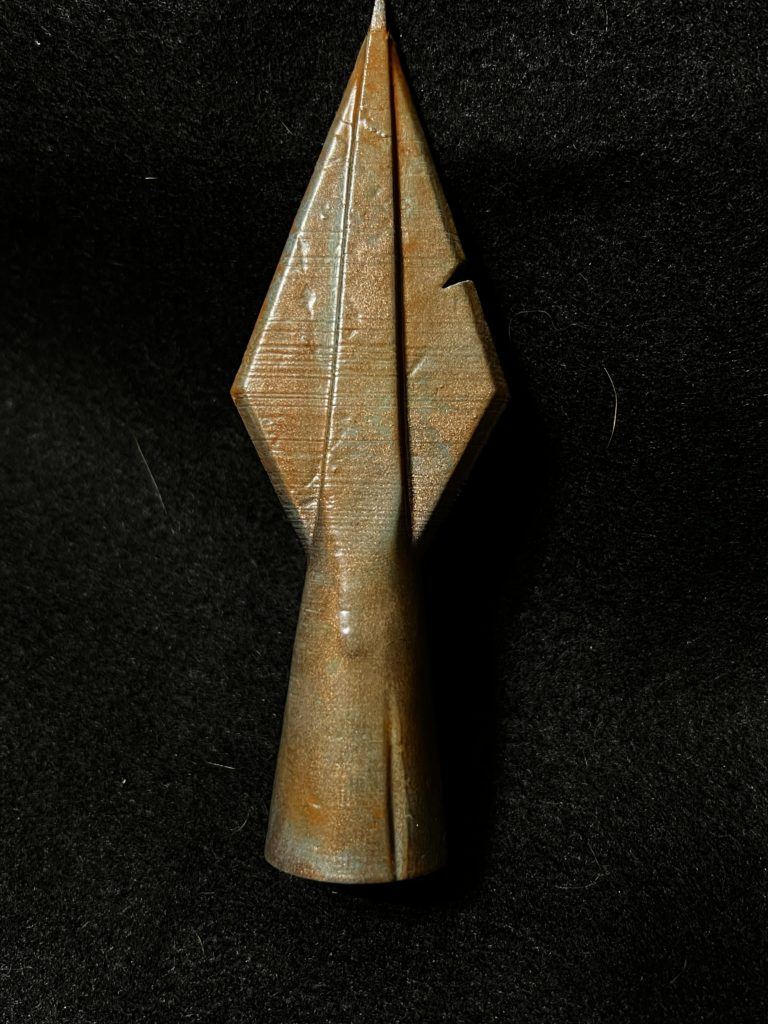
Seal with your favorite matte or satin varnish. I find this helps to lock the powder in on the model, but it will knock down some of the dusty rust effect so you may not want to seal it. I have from time to time not sealed rusted things and have never noticed any rubbing off of the pigment onto anything else, but if the model gets damp I would imagine it would impact the look. Some of the rust pigment does dissipate due to the moisture from the varnish but I haven’t seen it have any major effects or reactions. And if you feel too much dissipated, you can always do another round of the rust to build it up and then seal it again.
And there you have it. I definitely prefer the lightly rusted one but wanted to show how it looked if you went overboard with it (shown below). There are a ton of other rusting techniques out there, but this box of pigment was ~$3 for me at Lowe’s and will last me the next decade so for me that was a huge win.
Hope everyone enjoyed my simple tutorial for making a rusty arrowhead!
